3 Deliciously Easy Spice Blend

With just a few minutes and the right spices, you can whip up some flavorful spice blends that will help you jazz up your meals. Not only will I share three recipes for spice blends with you, but I share about my favorite place in Russellville, AR to purchase spices!

Why Should You Make Spice Blends Instead of Buying Them?

Good question!

I know that there are so many packages and bottles of spice blends on the store shelves that are easy to pick up but sometimes those blends have some added fillers and anticaking agents that aren’t always ideal for our health or flavor.

It’s surprising to me that when I look at the back of many spice blends I see things like sugar, maltodextrin, and “natural flavors”.

So making your spice blends gives you full control over what is and isn’t in your blends, which is important to me and perhaps it is to you as well since you are here reading this article.

Where’s The Best Place In Russellville to Buy Herbs and Spices?

I’ve recently been extending my spice collection and while doing so I’ve found that many of the newer to me spices like Marjoran and Ground Mace can be more on the expensive side of spices at the local stores like Kroger and Walmart.

So I’ve been looking for better options when it comes to price and one local source I’ve found to be a better price and quality for my spices and herbs is The Country Cupboard in Russellville.

You can find this quaint little gem on 4th Street just across from the Pop County Library. I love visiting this store for tasty ferments, soda alternatives, and now herbs and spices.

The Country Cupboard has a wide variety of individually packaged spices that would satisfy the best of Chefs and lately, I’ve found that their prices on the harder-to-find spices are much lower than retail stores.

For example, I recently needed to purchase more Marjoram for some spice blends, one of which you will get the recipe for below, and when I looked for it at Walmart it was coming in at almost $5 dollars for the amount I needed.

Since it is a herb that I won’t use every single day I wanted to shop around to find if I could get it cheaper. I looked online and Kroger but wanted it pretty quickly so didn’t want to order online if I didn’t have to.

That next day I was in the Country Cupboard to pick up a few things and happened to remember that they had spices and asked my husband to see if they had Marjoram.

Well, not only did they have it but it was at a remarkably low price of just .89 for an ounce!! This is several dollars cheaper than the one I was going to get from Walmart and a larger amount at that!

This is not the first time I’ve been able to pick up spices in their store at a lower price than the bigger retail store is selling them for, so I highly recommend you check out their amazing wall of herbs and spices!

Tell them you read about them on our site and how you heard they had great spices and the best prices!
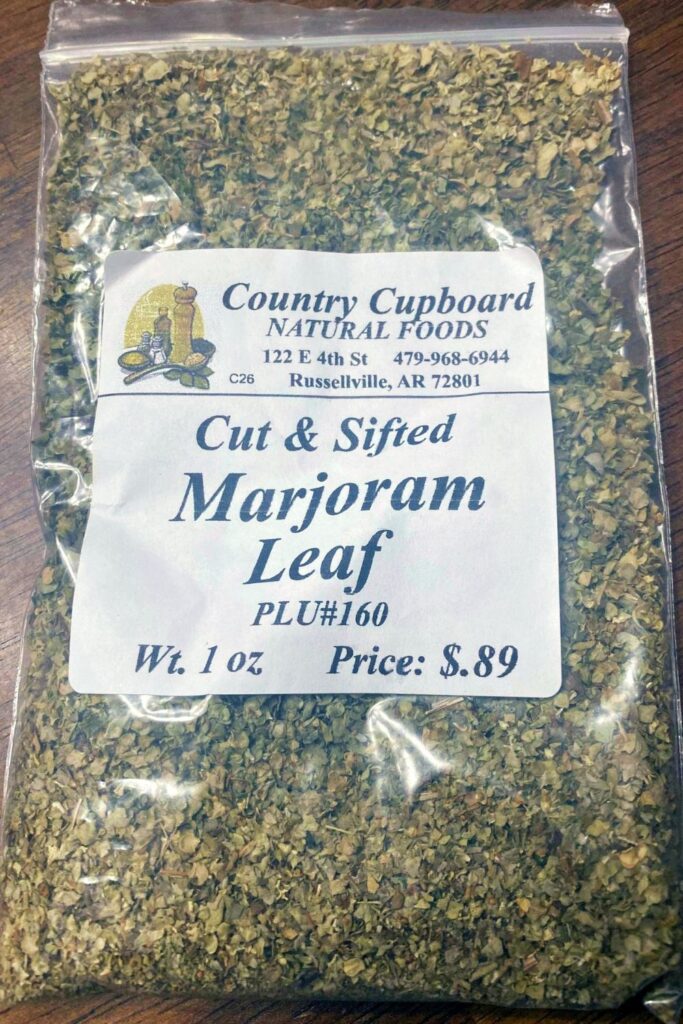
A mall plastic bag of Marjoram from The Country Cupboard.

Here’s How To Store Spices and Blends Correctly

Now that you can see how easy it is to make your spice blends at home, and I’ve given you a tip on a local place to buy some great spices at decent prices it’s time to give you some tips that are important to keep your spices fresh and flavorful for as long as possible.

Here are some tips for storing herbs and any of your homemade spice blends including the three recipes I give you below in the recipe card.

  • Here are some tips for storing herbs and any of your homemade spice blends including the three recipes I give you below in the recipe card.
  • Store all your spices and blends in cool, dry, and dark places. You’ll also want to store them away from any areas that are prone to heat or moisture. This will help prevent clumping by keeping them cool and dry.
  • Avoid storing anywhere there is a lot of sunlight because it’s been proven that spices do start to lose their flavors the older they get and if they are exposed to sunlight for long periods.
  • To help keep them as fresh as possible I highly suggest you store them in airtight containers to prevent exposure to air and again that moisture that can destroy your dry spices.
  • Ground spices maintain their flavor for up to a year before they start to lose their potency and their flavors so I suggest you only make up enough of each blend that you can use up in less than that time so you get the best quality of flavors.
  • Mason jars or little spice jars work great for storing whole spices and your homemade DIY spice blends.
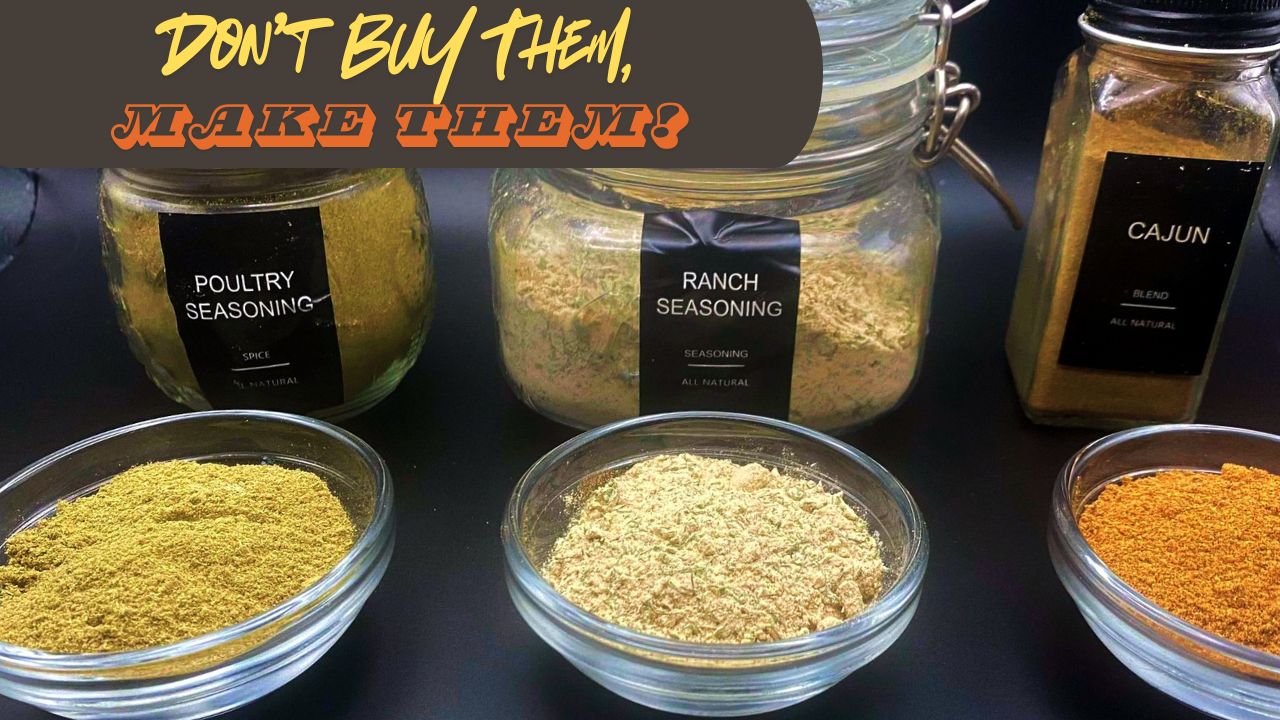
Spice Blend Recipes: Cajun, Poultry Seasoning, and Ranch

Ingredients

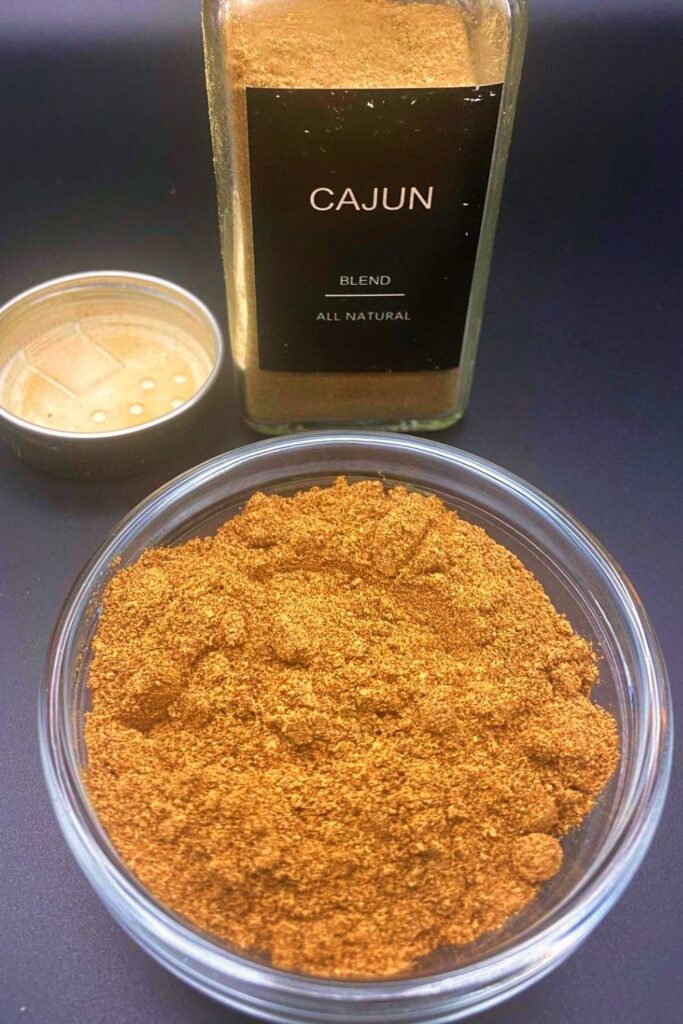
Cajun Seasoning

  • 3 Tablespoons Smoked Paprika
  • 2 Tablespoons of Garlic Powder
  • 2 Tablespoons of Italian Seasoning
  • 1 Tablespoon of Onion Powder
  • 1 to 2 teaspoons of Cayenne Pepper
  • 1 teaspoon of Mustard Seed or Ground Mustard
  • 1 teaspoon of Black Pepper

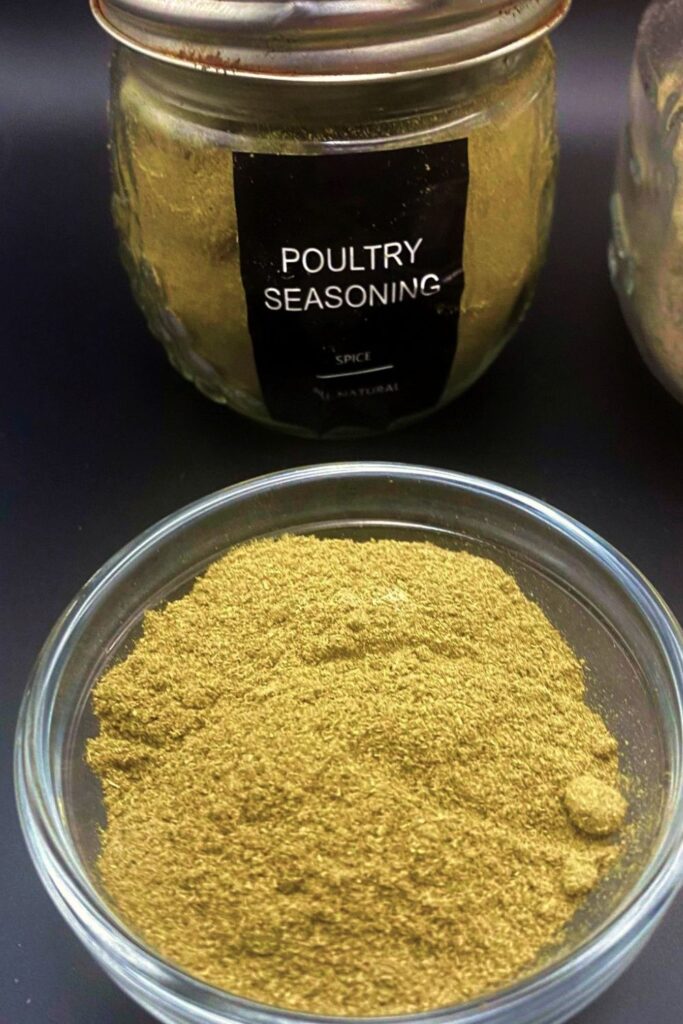
Poultry Seasoning

  • 3 Tablespoon of Sage
  • 2 Tablespoons of Thyme
  • 2 Tablespoons of Rosemary
  • 1 Tablespoon of Marjoram
  • 1/2 teaspoon Black Pepper
  • 1/4 teaspoon Nutmeg, optional
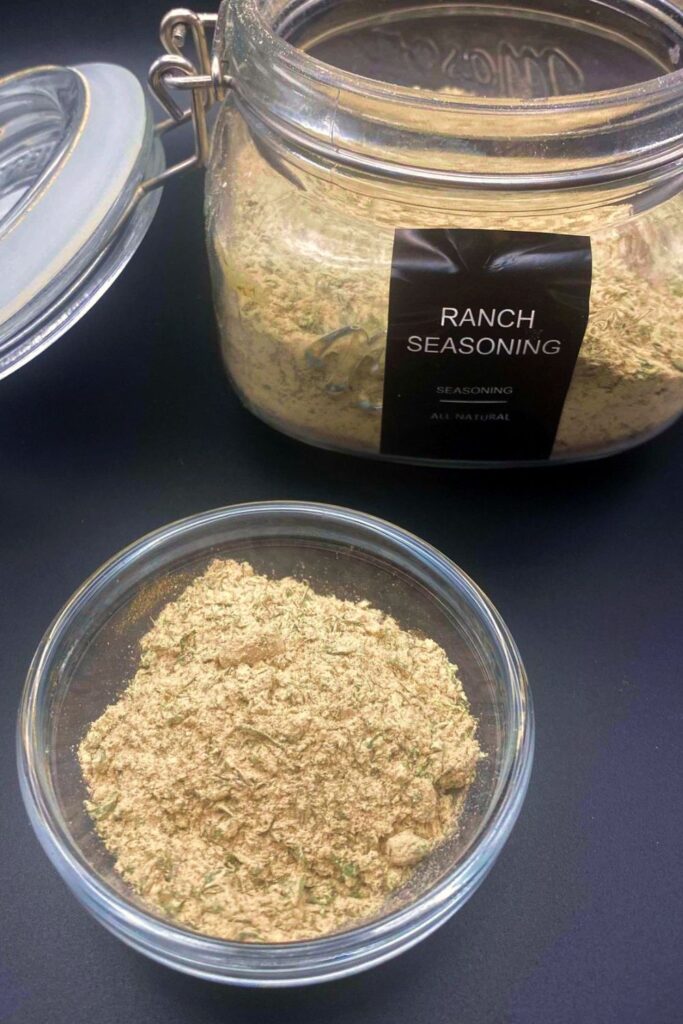
A glass jar with a lid and a small round glass bowl holding Ranch Seasoning Mix.

Ranch Dressing Mix

  • 2 Tablespoons of Garlic Powder
  • 2 Tablespoons of Onion Powder
  • 2 Tablespoons of Dried Parsley
  • 2 Tablespoons of Dried Dill Weed
  • 1 teaspoon salt, optional

Instructions

  1. For the Cajun Seasoning add all of the ingredients to a spice grinder and grind them until all the spices are smooth and combined. If you don’t have a spice grinder, use mustard powder instead of the mustard seeds then combine the spices in a jar, and shake well to combine.
  2. For the Poultry Seasoning, you’ll add all of the spices into a spice grinder and process until all is well ground. Same with the Cajun if you don’t have a grinder just add it to a jar and shake well.
  3. To make up the Ranch Mix simply add all of the spices into a jar with a lid and shake the mix well until it is combined.
  4. Store each of the 3 DIY Seasoning Blends in air-tight containers and avoid getting any moister near them to prevent clumping.
  5. I recommend shaking each jar before measuring out the amount you need for your recipes.
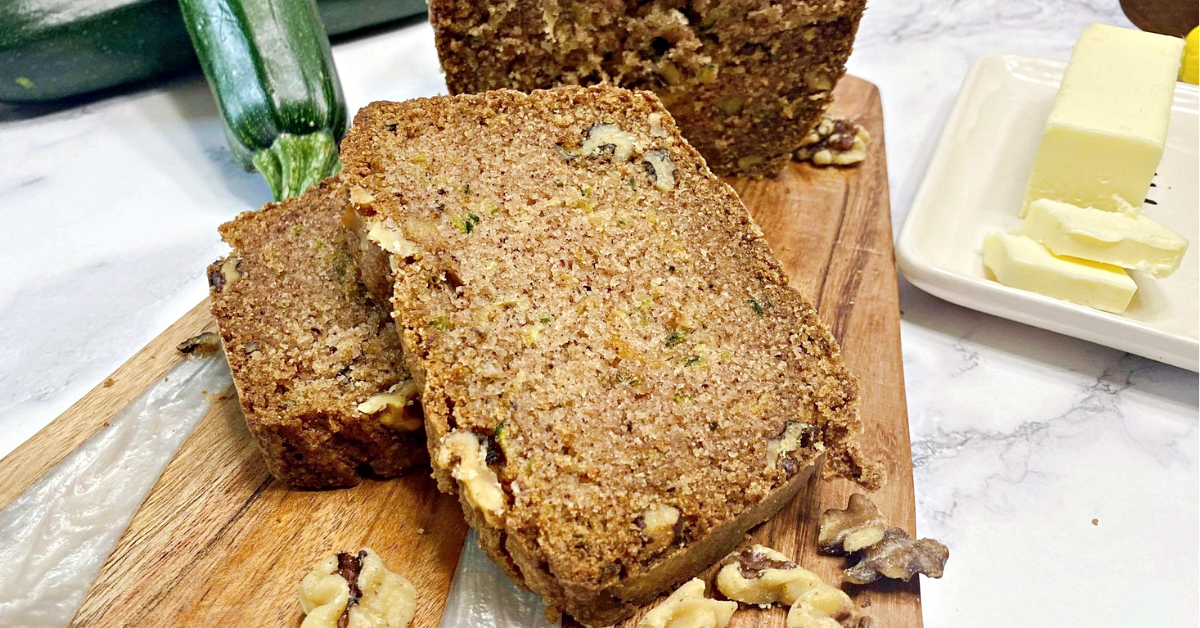
A image of two slices of zucchini bread stack on each other with the loaf behind them.

How To Make Zucchini Bread

This delicious zucchini bread takes advantage of all the fresh summer zucchini growing so well here in the River Valley of Arkansas. It is one of my favorite summer treats and a great way to use up those big zucchini you may have let grow a little too large in the summer lol!

What is Zucchini Bread?

If you aren’t familiar with zucchini bread you’ll be happy to learn that it is a type of quick bread that is similar to banana or pumpkin bread, just with grated zucchini.

Zucchini is the green cousin to the yellow summer squash and it is very easy to find in Arkansas. You can pick it up at many farmer’s markets, grocery stores, and most like your neighbor, lol.

In the past, I’ve tried other zucchini bread recipes out there but they were either not sweet enough or overly sweet, so I’m not afraid to mention that myself and my family have deemed this the best zucchini bread recipe ever.

Thanks to my dear Aunt Barabara for this recipe, I sure miss her, but always think of here when I make this recipe!

To some the thought of using summer squash in a sweet bread may be foreign but trust me here, you don’t taste an overwhelming squash flavor at all.

The zucchini is shredded so finely that you only see pretty green flecks scattered through the slices, but the squash adds much-needed moisture to this sweet treat that is super nice.

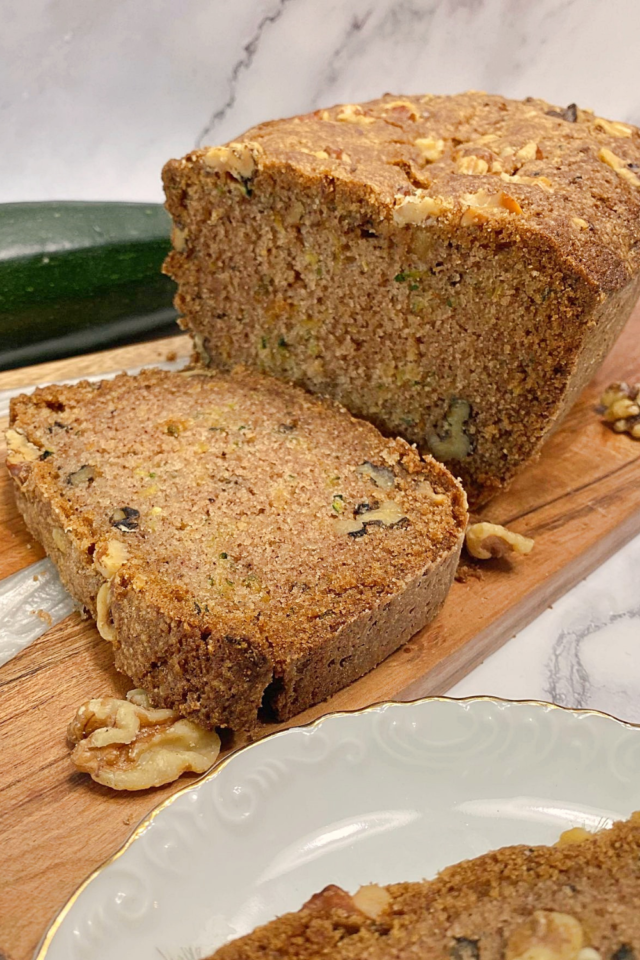
Just imagine a lightly spiced cakey loaf with a moist crumb and a nice crunch from some walnuts. To me, this loaf has the perfect amount of sweetness and it is a great way to use up all the extra zucchini if you are a gardener like me.

Do You Have To Peel and Remove The Seeds From The Zucchini For Zucchini Bread?

Zucchini is a tasty summer squash that has very mild-tasting flesh, with a thin green skin that is fine to be eaten.

There is no reason to peel the zucchini first before shredding it for this bread recipe. As I mentioned above, the skin is very thin and tender so it cooks fine in the bread and you’ll never know it is there.

I simply wash the zucchini well first and check for any damaged spots that may need to be removed, but other than that the squash is ready to be shredded.

The same goes for the seeds. Zucchini, if picked at peek size, doesn’t have very large seeds and they can be left alone as you shred the squash.

They will help add moisture to your zucchini bread. However, if you have a rather large zucchini and the seeds have gotten larger and tougher I do recommend scooping them out of the squash before you shred it when you need to use up the larger squash.

This Fresh Zucchini Bread will have your kids begging for more squash…in bread form!

A close-up slice of fresh zucchini bread.

Here’s the recipe!

Ingredients

  • Ingredients
  • 2 eggs
  • 1 cup of sugar
  • 3/4 cup of packed brown sugar
  • 1 cup of oil
  • 1/4 cup of milk or water
  • 2 cups of shredded zucchini
  • 2 cups of all-purpose flour
  • 2 teaspoons of cinnamon
  • 2 teaspoons of baking soda
  • 1/4 teaspoon of salt
  • 1 cup of chopped pecan or walnuts

Directions:

  • Preheat your oven to 350 Degrees Fahrenheit and grease and flour a 9×5 loaf pan. It is important to grease and lightly flower this bread because this zucchini bread will stick if you don’t.
  • To a mixing bowl add the eggs, sugars, oil, and milk. Mix well until combined.
  • Next, add in the shredded zucchini and mix again.
  • Finally add in the flour, cinnamon, baking soda, salt, and nuts and mix thoroughly until there are no dry ingredients left unmixed.
  • Spray your 9×5 loaf pan with cooking spray and then dust it very well with a couple of tablespoons of flour making sure to get the bottom and the sides of the loaf pan coated well. Dump any excess flour out of the loaf pan.
  • Add the bread batter to the loaf pan and spread it out evenly. If desired sprinkle a few walnuts on top and place it in the oven to bake for 60 to 75 minutes. Start testing the center of the loaf at 60 minutes.
  • The total cooking time will depend on the thickness of your loaf and your oven. The loaf in my photos took 73 minutes to bake completely in my oven. It is done when a toothpick comes out of the center clean.
  • Let the bread cool for about 5 to 10 minutes then carefully remove it from the pan and let it cool completely before slicing to serve. This bread also freezes beautifully!

WELCOME TO RUSSELLVILLE INTERESTS

Your interests consist of the things you love. They are also what makes you unique. Interests bring people together into various communities based on a common love for things like family, faith, art, pets, food and more. This section is where you will find people that you can relate to

The Russellville Voice is YOUR Voice, so feel free to share content that you would like to share or REACH OUT TO US if you have comments or questions.

For the best experience, please REGISTER and be sure to be LOGGED IN.

This page is part of the Russellville Voice.

Loading

FEATURED STORIES


PHOTOS

Here you’ll find photos of things that people in Russellville find interest in, such as pets, families and food.

Sorry, there were no items that matched your criteria.


FAITH

Advertise your church, add your events, share church photos and more.

Sorry, there were no items that matched your criteria.


PETS

If you have a cute pet, share your cute pet pics here. You will need to be registered and logged in to share a listing here.

Sorry, there were no items that matched your criteria.


ART

This section is for people who love art. You don’t have to be an artist, as long as you love art in Russellville this section is for you.

Showing 1 - 6 of 6
fanart of Kagura
5.01
Adria Roach
Clarksville, Arkansas, United States, 0, 0
Cajun swamp scene in oils
Dan Boudreaux
Russellville, Arkansas, United States, 0, 0
Large Oil on canvas
Debbie Frame Weibler
Russellville, Arkansas, United States, 0, 0
Acrylic Ghost Face
Nevaeh Shade
Russellville, Arkansas, United States, 0, 0
Billy Corgan
Anna Tyler
Russellville, Arkansas, United States, 0, 0
Zhen
Nate
Russellville, Arkansas, United States, 0, 0

FOOD

Share something about food, or eating out in Russellville here. Add menu items, share a review, a recipe and more in Russellville Food.


USER SUBMITTED RECIPES

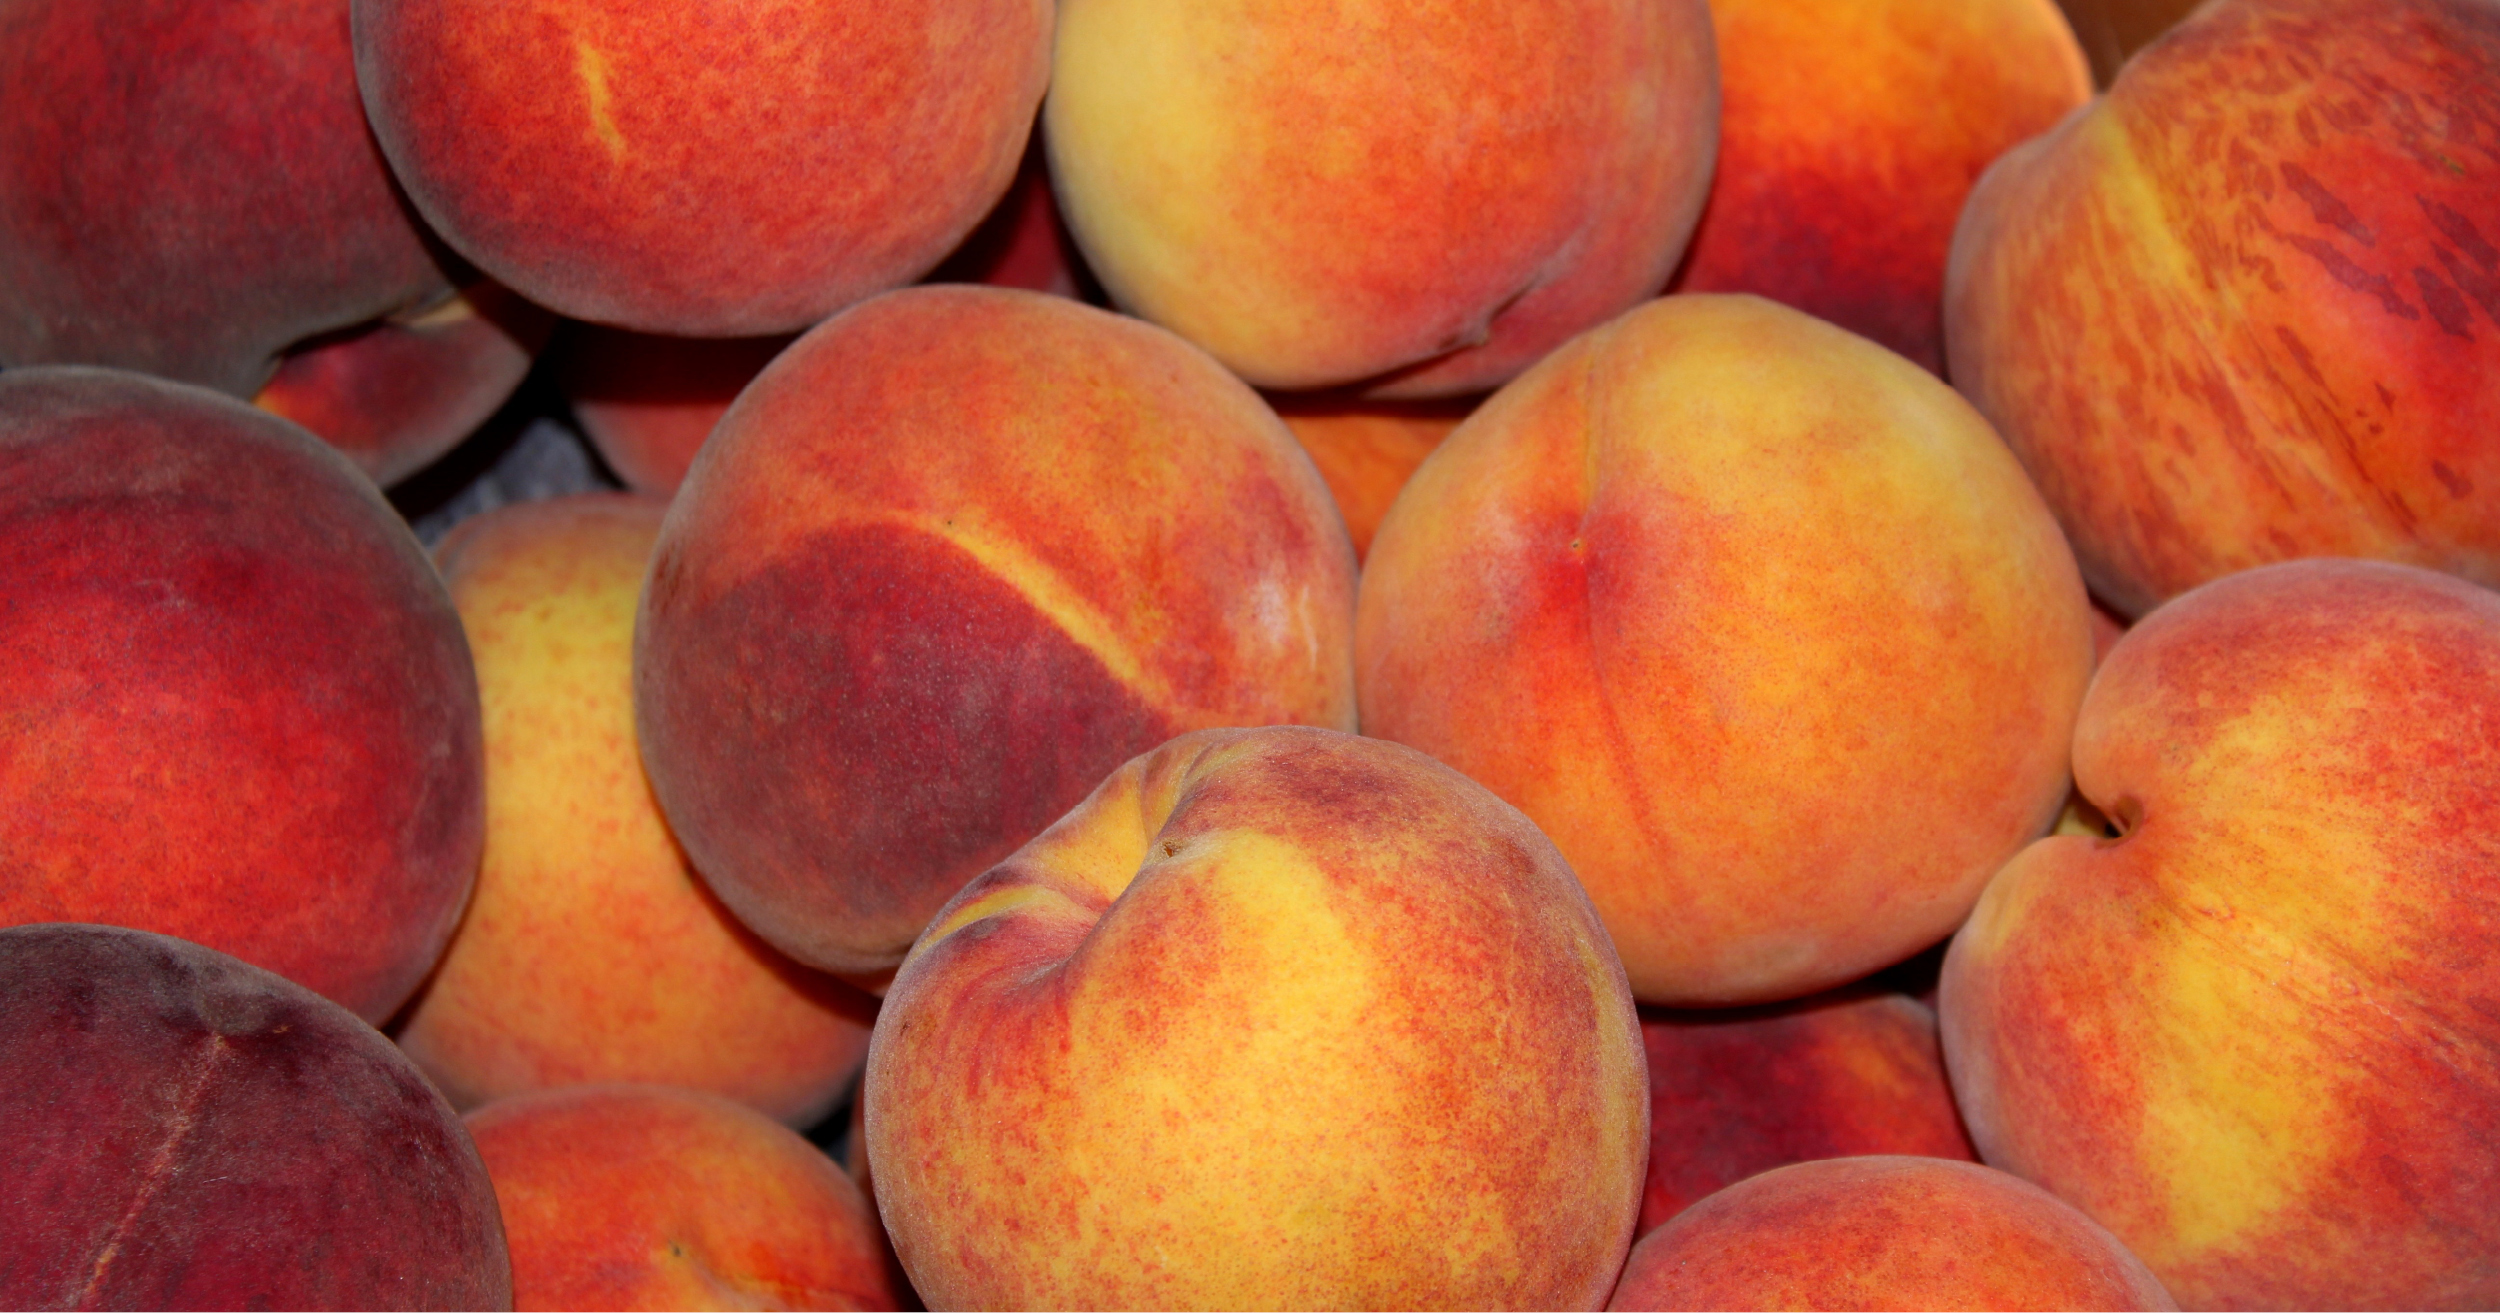
This Easy Peach Cobbler is the best go-to recipe for the Arkansas peach season. It is a classic dessert that is an amazing way for me to highlight some delicious fresh-picked peaches from a local orchard called Peach Pickin’ Paradise!  We’ll learn more about Arkansas Peaches, our local farmer, and then make some cobbler! The recipe is so easy and it is perfect served plain right out of the oven, or with a scoop of ice cream, or whipped cream.

Let’s Talk Peaches and About Our Local Farmer!

Ripe peaches are generally considered hard to beat by most fruit consumers, and I totally agree with them on that.

There is just nothing like biting into the ripe fruit and having those sweet juices run down your chin. Messy you say? Why yes it is messy, but oh so worth it!

Arkansas produces some pretty awesome peaches across our home state, you guys! Did you know that?

No? Well, never fear!

I took the time to grab a little bit of information from online to share with you guys on the awesome peach production right here in our beautiful Natural State! 

Here’s some information about where you can find fresh peaches growing in Arkansas quoted from the Encyclopedia of Arkansas: 

Peaches are grown throughout the state of Arkansas with the highest concentrations being in central Arkansas  (Pope and Faulkner counties), western Arkansas (Johnson and Franklin counties), southwest Arkansas (Howard and Clark counties), northern Arkansas (Boone, Benton, and Washington counties), and Crowley’s Ridge in eastern Arkansas (Cross and St. Francis counties). Peaches are most successfully produced on light, sandy soil with at least thirty-six inches of soil depth. Orchards are usually placed on locations with raised elevations to avoid or lessen the impact of incidents of low temperature such as frosts.

Peaches were introduced as a crop in Arkansas after the Civil War, as were many other fruits and vegetables, during the New South Diversification movement in agriculture. This movement was brought on by the need to diversify crop varieties to avoid the economic risk of a single crop economy, as evidenced by the overproduction of cotton prior to the war.”

There is much more to read and learn on this subject, but that’s just a quick little look at peaches grown here.

Please hop over if you want to check out this whole article and all the interesting facts about Arkansas peaches here at PEACH INDUSTRY, BY ENCYCLOPEDIA OF ARKANSAS.

Now, let’s talk about our local peach farmer featured today, Peach Picking Paradise!

Peach Pickin’ Paradise, Lamar, Arkansas! 

So as mentioned above Johnson County is one of the best places in Arkansas to find peaches and we are blessed to live just a short distance from an amazing peach orchard.

Peach Pickin’ Paradise, in Lamar, AR, has a “You Pick” season every year where they sell their amazing crop of peaches to the public. We love going to the orchard as a family and bringing home tons of their fruit.

I’m not a fan of hot weather you guys, but these peaches have me counting down the days until it is hot and the smell of sweet peaches is in the air!

If you’ve never visited Peach Pickin’ Paradise, you seriously need to plan a road trip to get some of the many varieties of peaches and nectarines they grow.

This orchard grows a wide variety of peaches. They have so many that I couldn’t possibly remember them all but some of them are July Prince Cresthaven, White Diamond, Baby Gold, Contenders, Winblo, Shinn, Bisco, White County, Loring, and my favorites Redhaven.

The whole process of picking peaches at this wonderful local orchard is so fun and is a great family-friendly activity. From pulling up into the line of waiting cars, yes they line up fast folks, to planning out your picking with the map they give you upon arrival.

But don’t waste too much time planning, jump in and get out there searching for ripe peaches to fill those baskets!

They make it super easy to find the type of peaches you’re looking for with markers at the end of each row to tell you which variety of peaches are growing there.

Peach Pickin’ Paradise opens around 7:30 a.m. on picking days, so take my advice get there as early as you can and be ready to pick your heart out.

You can count on large crowds of other peach lovers to join you so you don’t want to sleep in and miss the ripe fruit that sells out fast friends!

For the most part, their 2020 peach season is winding down, but I did see on their Facebook Page that in a few weeks they will have some Indian Peaches ready to pick so please follow their page: Peach Pickin’ Paradise and be sure to keep an eye out for the last few days of the peach picking and get out there quick.

Info or Peach Pickin’ Paradise from there Facebook Page:

  • Peaches and Nectarines
  • Cash or check only
  • 88 cents a pound when you pick your own
  • Call before you come. We have to close some days and have to close early sometimes

I highly recommend you take their advice and call before you drive to the orchard so here is their phone number, 479-754-2006,  if you want to reach out to them before going to pick.

That way you don’t drive out to the orchard to find them sold out!

Fresh Peach Cobbler for The Win!

So friends, let me tell you this, buy as many as you can pick!  I mean when you go pick your peaches, be sure to stock up because you can’t beat the price and definitely can’t beat the flavor of these Arkansas Grown peaches.

We eat tons of them fresh. We like to wash and slice them and eat, but I also love canning some for winter, making peach ice cream, and some yummy peach butter with the ones we pick.

However, one of our favorite ways to use these peaches is in a super easy yet delicious Peach Cobbler. This recipe will amaze you at how easy it is and it will knock your socks off when it comes to taste.

The fresh-picked peaches from Peach Pickin’ Paradise were perfect in this cobbler. They pair so well with the buttery and fluffy cake-like top.

I made this cobbler pictured here on one of the days we went to pick these peaches (also pictured above). I was kicking myself the next day because I should have made two of them because it sure when fast!

So trust me when I say give these peaches from this local grower a try the next time you can and definitely make this cobbler with them.

You’ll love it as much as we do and hopefully, you’ll make two if you want it to last very long!

Easy Peach Cobbler Recipe

Peach Filling Ingredients:

  • 6 cups peeled, sliced peaches
  • 1 cup of sugar
  • 2/3 cup water
  • 1/2 teaspoon of cinnamon, optional

Cobbler Topping:

  • 1 stick of butter, cubbed
  • 1 1/2 cups self-rising flour
  • 1 1/2 cups milk
  • 1 cup of sugar

Instructions: 

  1. Preheat your oven to 350 degrees while you prepare the cobbler.
  2. Combine the 6 cups of sliced peaches, sugar, and the water in a saucepan and stir it up well.
  3. Bring the peach mixture to a boil and simmer for 10 minutes until peaches are tender and cooked down a bit.
  4. Remove the peaches from the heat and work on the cobbler topping.
  5. Put the butter in a large baking dish and place in the oven to melt.
  6. To make the cobbler topping mix the 1 cup sugar, flour, and milk in a medium bowl and whisk slowly to prevent clumping.
  7. When the butter is melted in your baking dish, remove it from the oven carefully.
  8. Next, pour the cobbler topping mixture over melted butter. Do not stir.
  9. Lastly, you will need to spoon the cooked peaches over the top of the ingredients in the baking dish. Do this gently and remember do not stir. This is where the magic happens because the batter will rise to top during baking.
  10. Bake for 30 to 45 minutes.
  11. Serve warm with vanilla ice cream or drizzled with heavy cream.

Herb Roasted New Potatoes

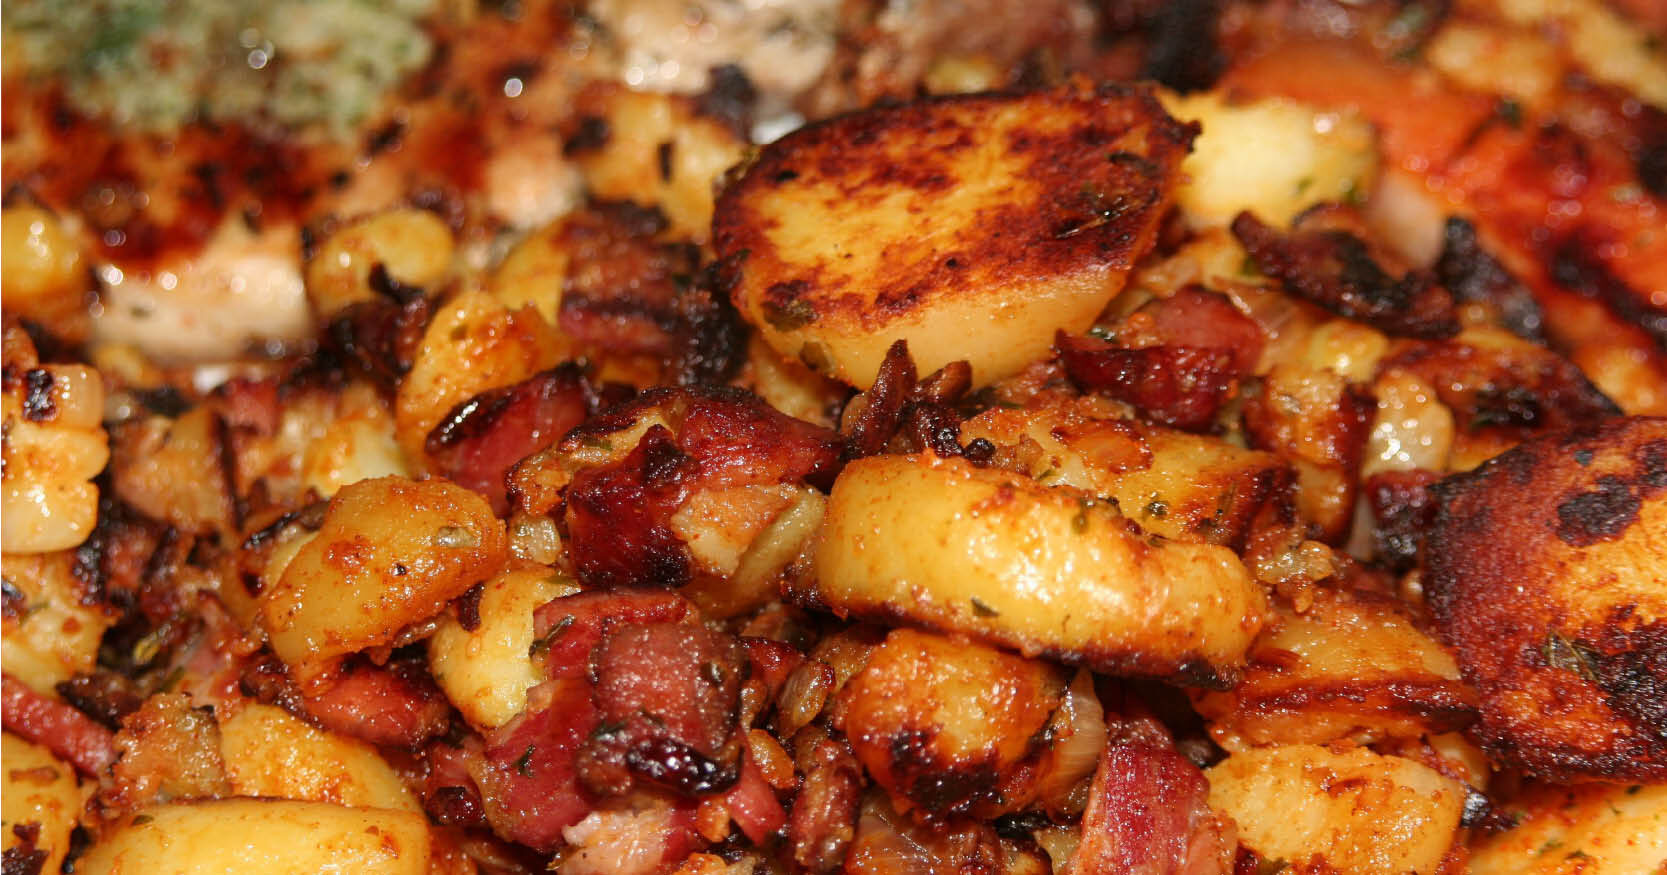
Today, I’m sharing a recipe for some locally sourced new potatoes that make an irresistible side dish with burgers, chicken, or fish. They are full of herby flavor and crispy on the outside. These Herb Roast Potatoes are a delicious way to introduce you to one of our local farmers, Russell Family Farm out of Dover, AR!

Shop Your Local Farmer’s Market!

One of my favorite things about summer is shopping at the local farmer’s markets in our area. My family enjoys all the fresh produce we can find like potatoes, onions, lettuce, bok choy, squash, cucumbers, and more!

But most of all we really love supporting our local farming families. Farmers are so important to our food chain and now more than ever the small farmers need our support and our families need all the fresh and healthy food they’re working hard to grow!

So today, I wanted to share about one of the first trips of the season to the Pope County Farmer’s Market a while back (yes, I’m a bit behind with this post, oops), where we were lucky enough to find some new fresh potatoes grown and sold by Russell Family Farm.

Meet the Farmers: Russell Family Farm!

I took the opportunity to reach out to Bruno Russell in an effort to learn a little bit about Russell Family Farms so I wanted to introduce you guys to this local farming family also.

Joe and Hazel Russell began providing homegrown produce to the Russellville, AR area when they started selling their produce at the Pope County Farmer’s Market about 15 years ago.

They worked hard to grow their produce in the traditional in-ground method up until about 3 years ago, when their son Bruno, moved back to the area to work alongside his parents at the farm.

Since that time when Bruno joined them, they have begun transitioning to more of a raised bed method and now have around 40 raised garden beds ranging in various sizes and 30 wooden tomato cages.

Bruno stated they have hopes of adding an additional 10 raised beds this coming fall 2020, which will make it possible for them to grow even more fresh produce to sell at the farmer’s markets.

If you want to visit the Russel Family and pick up some of their wonderful products, and yes they have more than just potatoes, my friends, be sure to shop at the Pope County Farmer’s Market on Tuesday or Saturday down by the Russelville Train Depot.

Also, please check out their Facebook page Here and tell them you learned about them here from Keri!

Let’s Talk About the Potatoes!

They had two varieties available (Yukon Gold and a Small White Variety) that day I shopped. So naturally, I had to pick up some of each, right?

I mean, who can pass up new potatoes? Not this girl, that’s for sure!

There is nothing like a fresh potato straight from the farm to your table. If you haven’t had potatoes this fresh then you really need to run to the next farmer’s market day and hope they still have some.

You can totally thank me later!

I had a recipe in mind for these new potatoes the minute I saw them on the table at the Russell Family Farm booth, so when I saw both types of potatoes available, I decided on combining both them for this Herb Roasted Potatoes recipe.

Here’s a look at these tasty little potatoes as I was cutting them up for the recipe. You’ll notice the contrast in color there as well.

Tips for Roasting Potatoes to Perfection!

Raise your hand if you love extra-crispy roasted potatoes because I sure do! If you haven’t experienced it already then I’ll tell you this, sometimes it can be a bit tricky getting your potatoes crispy on the outside without overcooking them.

And nobody likes dried out potatoes, am I right?

Thankfully, there are a few things you can do as you are preparing your potatoes that will ensure you have the satisfying crunch on the outside but still keep the tender insides to your Herb Roasted Potatoes.

Here are some tips to help:

  • Cut Your Potatoes Into Even Pieces:  It may seem like a simple thing, but it will make the biggest difference if you take the time to dice your potatoes up as close to the same size as possible.  Now, as you can see from my pictures some may not be exactly the same depending on the size of the potatoes your starting with. Just do the best you can. I recommend about 3/4-inch cubes, more or less.  This will help avoid having oven-roasted potatoes that are over or undercooked and while getting them nice and crispy.
  • Soak Them Before Roasting: Once your potatoes are chopped, toss them into a large bowl.  Then cover the potatoes completely with ice-cold water and let them soak for around 30 minutes if you have the extra time. This may sound like an unnecessary step, but it helps rinse off the excess starch which helps the potatoes crisp up beautifully in the oven. After you soak them drain and rinse them before doing one more important task… patting them completely dry.  Trust me, don’t skip this step!
  • Don’t Over Crowd Your Roasting Pan: Once you add your potatoes to the baking sheet be sure you add them to your roasting pan in a nice even single layer.  If they are overlapping or all on top of each other, the potatoes on the bottom will more or less steam. Meaning they won’t have the chance to get as crispy.  So go for an even layer and try not to completely crowd the pan.  If needed use two pans to get them all roasting in one even layer.
  • Bake at high heat: This will help the potatoes get nice and crispy also. I usually roast my potatoes at 425 degrees to achieve the perfect crispiness.
  • Take the time to flip the potatoes:  Once the potatoes have baked halfway through I highly recommend that you take the time to give them a good ole flip.  I know, another step that takes extra time. I’ll be the first to admit that it isn’t a make it or break it step, but it truly pays off with crispy potatoes if you take the time to do it.

Now that I’ve shared some about the farmers, the potatoes, and given you some great tips let’s get to the recipe!

Ingredients:

  • 3 lbs Fresh New Potatoes
  • 3 Tablespoons of Olive Oil
  • 1 Tablespoon Rosemary
  • 1 Tablespoon Parsley
  • 1/2 Tablespoon Garlic Powder
  • 1/2 Tablespoon Onion Powder
  • Salt and Pepper to taste (added at the end of cooking)

Cooking Directions: 

  • First, dice all the potatoes into 3/4-inch cubes or as evenly as possible.  Remember, it is important for the potatoes are uniformly sized for even cooking. After cutting them, add the potatoes to a large bowl of cold water and soak for at least 30 minutes.
  • Preheat your oven to 425°F while you prepare your potatoes.
  • Next, drain the potatoes and rinse them in more cold water, before transferring them some paper towels so you can blot the potatoes dry with a clean towel.
  • Then you’ll need to drizzle the potatoes evenly with the olive oil and toss them until they are all coated evenly.
  • After they are coated sprinkle the mixture of all the spices evenly over the bowl of potatoes, then toss until the potatoes coated in spices.
  • Lastly, spread the potatoes out in an even layer a baking sheet.  Be sure that the potatoes are not overlapping, or else they will not cook evenly and will not get as crispy.
  • Bake for 30 minutes.  Then remove the pan from the oven, and flip the potatoes with a spatula.  Rearrange again so that the potatoes are not overlapping.  Then bake for 10-15 more minutes, or until the potatoes are tender and have begun to brown and caramelize a bit around the edges. Cooking times may vary due to oven differences.
  • Remove the baking sheet from the oven, and sprinkle potatoes generously with your desired amount of salt.  Let them cook or 5 minutes then serve immediately while still hot.