With just a few minutes and the right spices, you can whip up some flavorful spice blends that will help you jazz up your meals. Not only will I share three recipes for spice blends with you, but I share about my favorite place in Russellville, AR to purchase spices!
Why Should You Make Spice Blends Instead of Buying Them?
Good question!
I know that there are so many packages and bottles of spice blends on the store shelves that are easy to pick up but sometimes those blends have some added fillers and anticaking agents that aren’t always ideal for our health or flavor.
It’s surprising to me that when I look at the back of many spice blends I see things like sugar, maltodextrin, and “natural flavors”.
So making your spice blends gives you full control over what is and isn’t in your blends, which is important to me and perhaps it is to you as well since you are here reading this article.
Where’s The Best Place In Russellville to Buy Herbs and Spices?
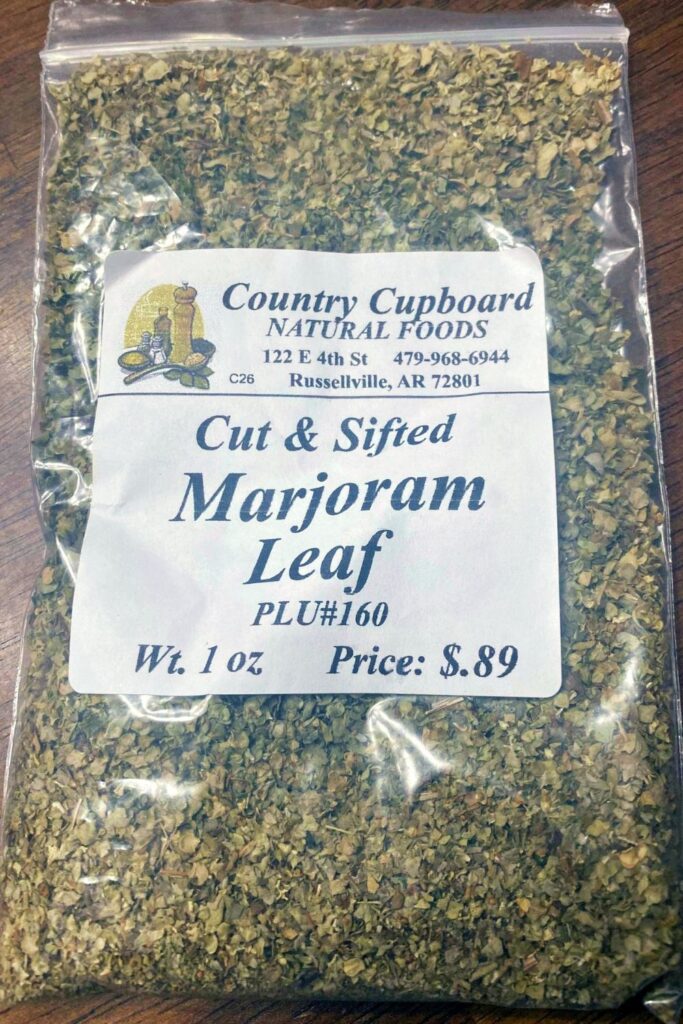
I’ve recently been extending my spice collection and while doing so I’ve found that many of the newer to me spices like Marjoran and Ground Mace can be more on the expensive side of spices at the local stores like Kroger and Walmart.
So I’ve been looking for better options when it comes to price and one local source I’ve found to be a better price and quality for my spices and herbs is The Country Cupboard in Russellville.
You can find this quaint little gem on 4th Street just across from the Pop County Library. I love visiting this store for tasty ferments, soda alternatives, and now herbs and spices.
The Country Cupboard has a wide variety of individually packaged spices that would satisfy the best of Chefs and lately, I’ve found that their prices on the harder-to-find spices are much lower than retail stores.
For example, I recently needed to purchase more Marjoram for some spice blends, one of which you will get the recipe for below, and when I looked for it at Walmart it was coming in at almost $5 dollars for the amount I needed.
Since it is a herb that I won’t use every single day I wanted to shop around to find if I could get it cheaper. I looked online and Kroger but wanted it pretty quickly so didn’t want to order online if I didn’t have to.
That next day I was in the Country Cupboard to pick up a few things and happened to remember that they had spices and asked my husband to see if they had Marjoram.
Well, not only did they have it but it was at a remarkably low price of just .89 for an ounce!! This is several dollars cheaper than the one I was going to get from Walmart and a larger amount at that!
This is not the first time I’ve been able to pick up spices in their store at a lower price than the bigger retail store is selling them for, so I highly recommend you check out their amazing wall of herbs and spices!
Tell them you read about them on our site and how you heard they had great spices and the best prices!
Here’s How To Store Spices and Blends Correctly
Now that you can see how easy it is to make your spice blends at home, and I’ve given you a tip on a local place to buy some great spices at decent prices it’s time to give you some tips that are important to keep your spices fresh and flavorful for as long as possible.
Here are some tips for storing herbs and any of your homemade spice blends including the three recipes I give you below in the recipe card.
- Here are some tips for storing herbs and any of your homemade spice blends including the three recipes I give you below in the recipe card.
- Store all your spices and blends in cool, dry, and dark places. You’ll also want to store them away from any areas that are prone to heat or moisture. This will help prevent clumping by keeping them cool and dry.
- Avoid storing anywhere there is a lot of sunlight because it’s been proven that spices do start to lose their flavors the older they get and if they are exposed to sunlight for long periods.
- To help keep them as fresh as possible I highly suggest you store them in airtight containers to prevent exposure to air and again that moisture that can destroy your dry spices.
- Ground spices maintain their flavor for up to a year before they start to lose their potency and their flavors so I suggest you only make up enough of each blend that you can use up in less than that time so you get the best quality of flavors.
- Mason jars or little spice jars work great for storing whole spices and your homemade DIY spice blends.
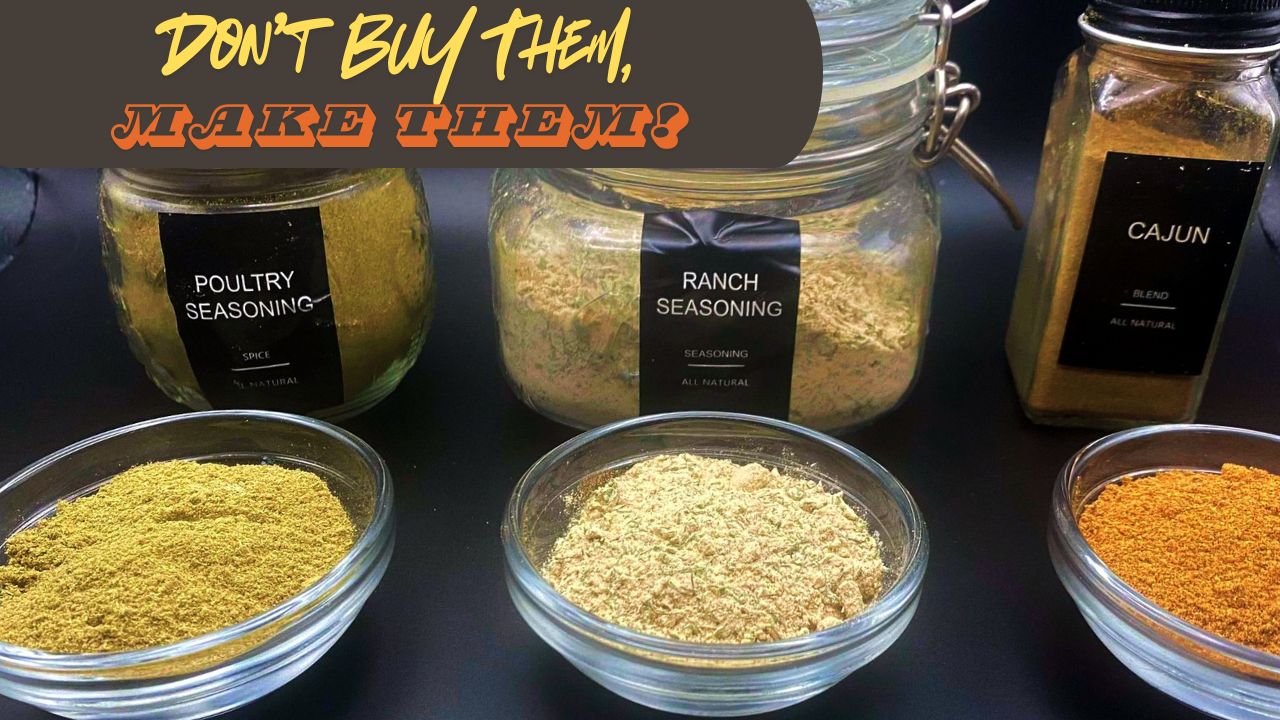
Spice Blend Recipes: Cajun, Poultry Seasoning, and Ranch
Ingredients
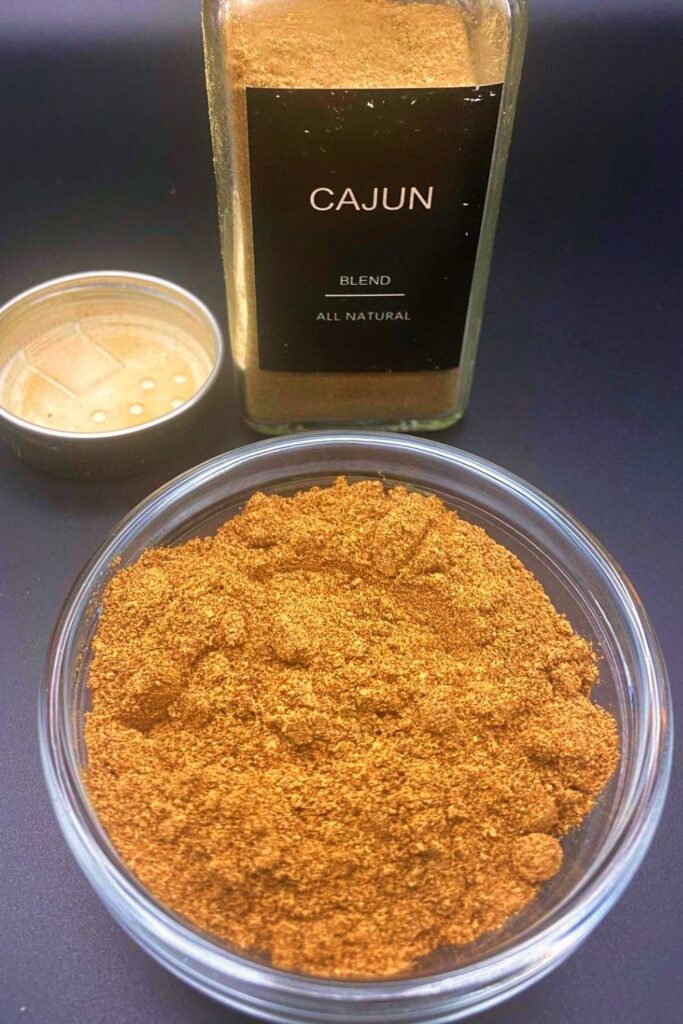
Cajun Seasoning
- 3 Tablespoons Smoked Paprika
- 2 Tablespoons of Garlic Powder
- 2 Tablespoons of Italian Seasoning
- 1 Tablespoon of Onion Powder
- 1 to 2 teaspoons of Cayenne Pepper
- 1 teaspoon of Mustard Seed or Ground Mustard
- 1 teaspoon of Black Pepper
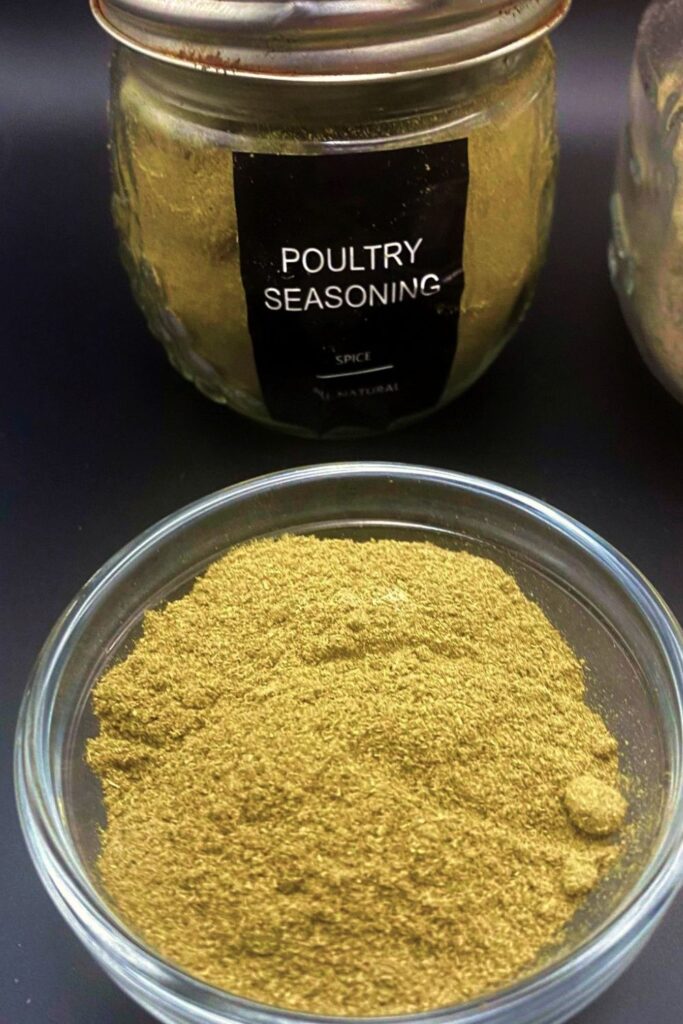
Poultry Seasoning
- 3 Tablespoon of Sage
- 2 Tablespoons of Thyme
- 2 Tablespoons of Rosemary
- 1 Tablespoon of Marjoram
- 1/2 teaspoon Black Pepper
- 1/4 teaspoon Nutmeg, optional
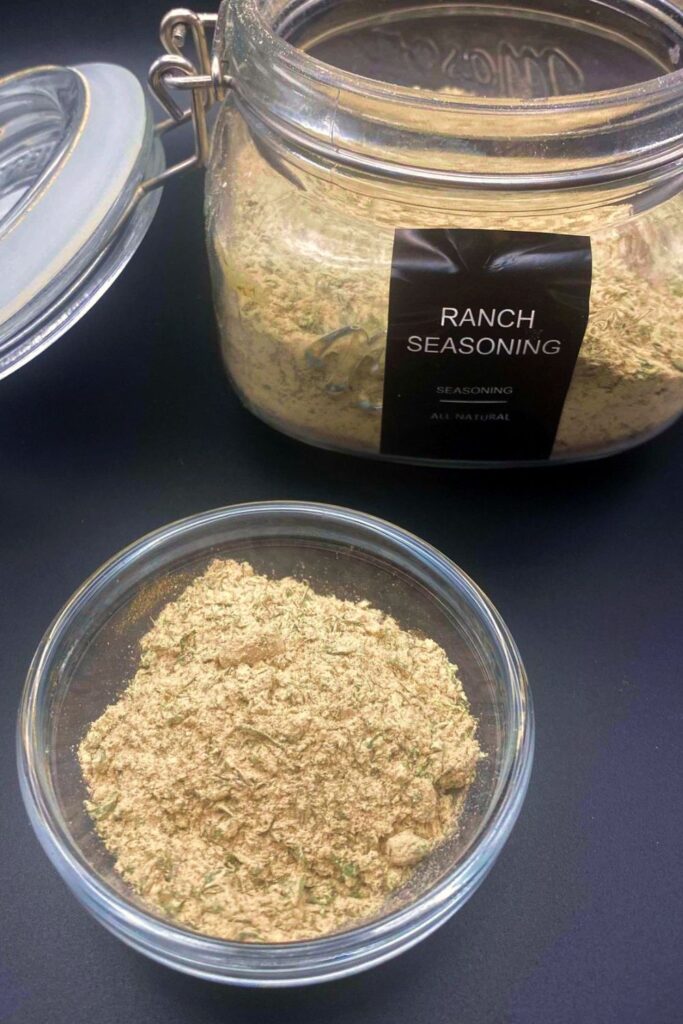
Ranch Dressing Mix
- 2 Tablespoons of Garlic Powder
- 2 Tablespoons of Onion Powder
- 2 Tablespoons of Dried Parsley
- 2 Tablespoons of Dried Dill Weed
- 1 teaspoon salt, optional
Instructions
- For the Cajun Seasoning add all of the ingredients to a spice grinder and grind them until all the spices are smooth and combined. If you don’t have a spice grinder, use mustard powder instead of the mustard seeds then combine the spices in a jar, and shake well to combine.
- For the Poultry Seasoning, you’ll add all of the spices into a spice grinder and process until all is well ground. Same with the Cajun if you don’t have a grinder just add it to a jar and shake well.
- To make up the Ranch Mix simply add all of the spices into a jar with a lid and shake the mix well until it is combined.
- Store each of the 3 DIY Seasoning Blends in air-tight containers and avoid getting any moister near them to prevent clumping.
- I recommend shaking each jar before measuring out the amount you need for your recipes.